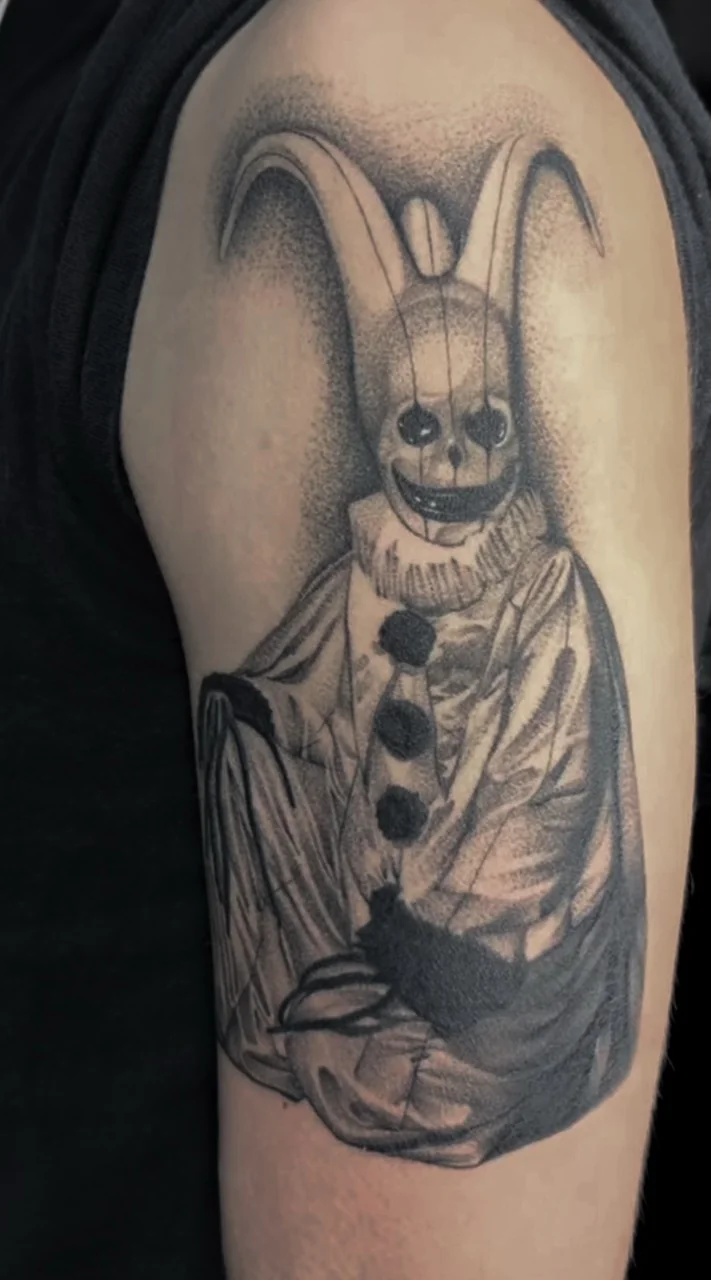
Shoulder Cap and Upper Arm
The shoulder cap creates a visible rounded focal point and can connect directly into a sleeve. Meanwhile, the upper arm provides more vertical room and is often easier to cover with a short sleeve.


SHOULDER TATTOO GUIDE • BODY FLOW • FOUR SAN ANTONIO SHOPS
Shoulder tattoos can create a strong focal point, follow the rounded body shape and connect naturally into upper-arm, chest or back artwork. However, the right surface, scale and viewing angle must be chosen before the design is locked.
THE SHORT ANSWER
Yes. The shoulder is a versatile placement because its rounded shape can support stand-alone artwork, wide designs and pieces that may later expand into a sleeve, chest panel or upper-back composition.
Therefore, the artist should fit the focal point, border and supporting details around your anatomy while you stand in a natural position.
DESIGN AROUND THE CURVE
First, the shoulder turns across several viewing angles. A design can appear centered from the side while shifting toward the chest, back or upper arm from another position.
Also, the shoulder moves whenever you lift, rotate or reach with the arm. That movement can make straight borders look different, so the composition should feel intentional in both resting and active positions.
However, the curve creates useful opportunities. Flowers, animal heads, mandalas, masks and round emblems can sit over the cap, while wider scenes can travel toward the shoulder blade or chest.
As a result, the artist should see the actual placement before finalizing the drawing. Review the Tattoo Size Guide, then test the stencil on your body.
COMPARE THE MAIN SURFACES
The shoulder cap creates a visible rounded focal point and can connect directly into a sleeve. Meanwhile, the upper arm provides more vertical room and is often easier to cover with a short sleeve.
The shoulder-blade area offers a broader, flatter surface for portraits, florals and wider scenes. In addition, it can connect toward the spine, neck or back when a larger composition is planned.
Neither direction is automatically better. Instead, choose based on the design shape, desired visibility and future expansion.
For artwork that crosses two surfaces, approve the stencil from the front, side and back. Therefore, do not judge the final placement through one mirror angle alone.
PROTECT THE FOCAL POINT
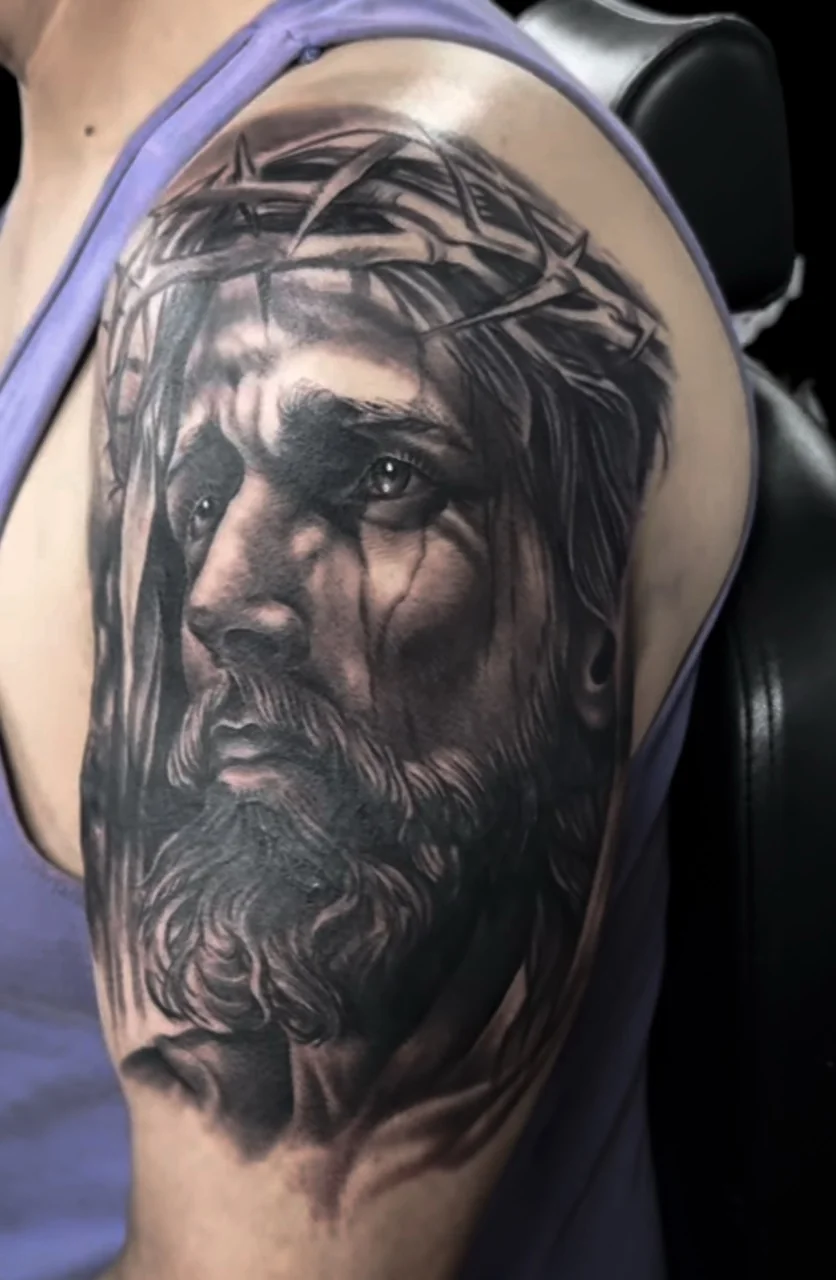
FOLLOW NATURAL MOVEMENT
Start with the main viewing angle. A centered flower, animal head or mandala may sit over the shoulder cap, while a portrait or scene may read better from the upper arm or back.
Next, decide where supporting details should travel. Then, use leaves, smoke, fabric, ornament or background shapes to connect the focal point without hiding it.
For example, petals can wrap around the cap, wings can spread toward the chest and back, and lettering can follow an upper-arm curve. By contrast, a rigid rectangular frame may fight the anatomy.
Finally, lift and rotate the arm during stencil review. A strong shoulder tattoo should keep its balance through normal movement, even though one angle remains primary.
MATCH THE ARTIST TO THE PROJECT
Most established styles can work on the shoulder when the artist adapts the focal point, contrast and borders to the curve.
Black and gray, portrait work and fine-line tattoos can use the shoulder or blade for controlled detail. However, faces and delicate features still need adequate size.
Traditional, neo-traditional, blackwork and color tattoos can build strong silhouettes that hold attention across the rounded surface.
Therefore, compare portfolios for similar style, subject and scale. A specialist who understands the design direction matters more than the first available chair.
SENSATION VARIES BY SURFACE
Many clients consider the outer shoulder manageable, although pain varies by person, exact surface and session length. Nevertheless, areas close to the collarbone, shoulder blade or thinner skin may feel sharper.
Also, long shading or color sessions can become more intense as the area grows sensitive. A small shoulder-cap symbol and a wide back-to-arm composition do not create the same experience.
Therefore, use the Tattoo Pain Scale as general guidance, not a guarantee. Arrive rested, eat appropriately and follow the artist's preparation instructions.
DETAIL SETS THE SCHEDULE
The schedule depends on size, detail, style, color, drawing needs, skin response and how far the composition extends.
First, a small flash design or simple symbol may fit one visit. In contrast, a portrait, large mandala or detailed color composition needs more preparation and tattooing time.
Meanwhile, artwork connecting the arm, chest and back may be divided into stages. That plan can protect quality while making each session more manageable.
For an accurate estimate, send the subject, approximate dimensions, exact shoulder surface and reference images. Then, the shop can match the project with the right artist and booking length.
PLAN FOR DAILY CLOTHING
Usually, a standard shirt covers most shoulder-cap and shoulder-blade tattoos. However, tank tops, sleeveless uniforms and wide necklines may reveal part of the design.
Workplace rules differ. Therefore, test the planned stencil with the clothing you wear most often instead of assuming every shirt provides full coverage.
Also, placement affects sun exposure. A shoulder hidden under clothing may receive less direct sun than an outer arm, while swimwear can expose the complete area.
If privacy matters, compare the upper arm, shoulder cap and blade before deciding. In addition, tell the artist which clothing lines should stay above or below the artwork.
ARRIVE READY FOR STENCIL REVIEW
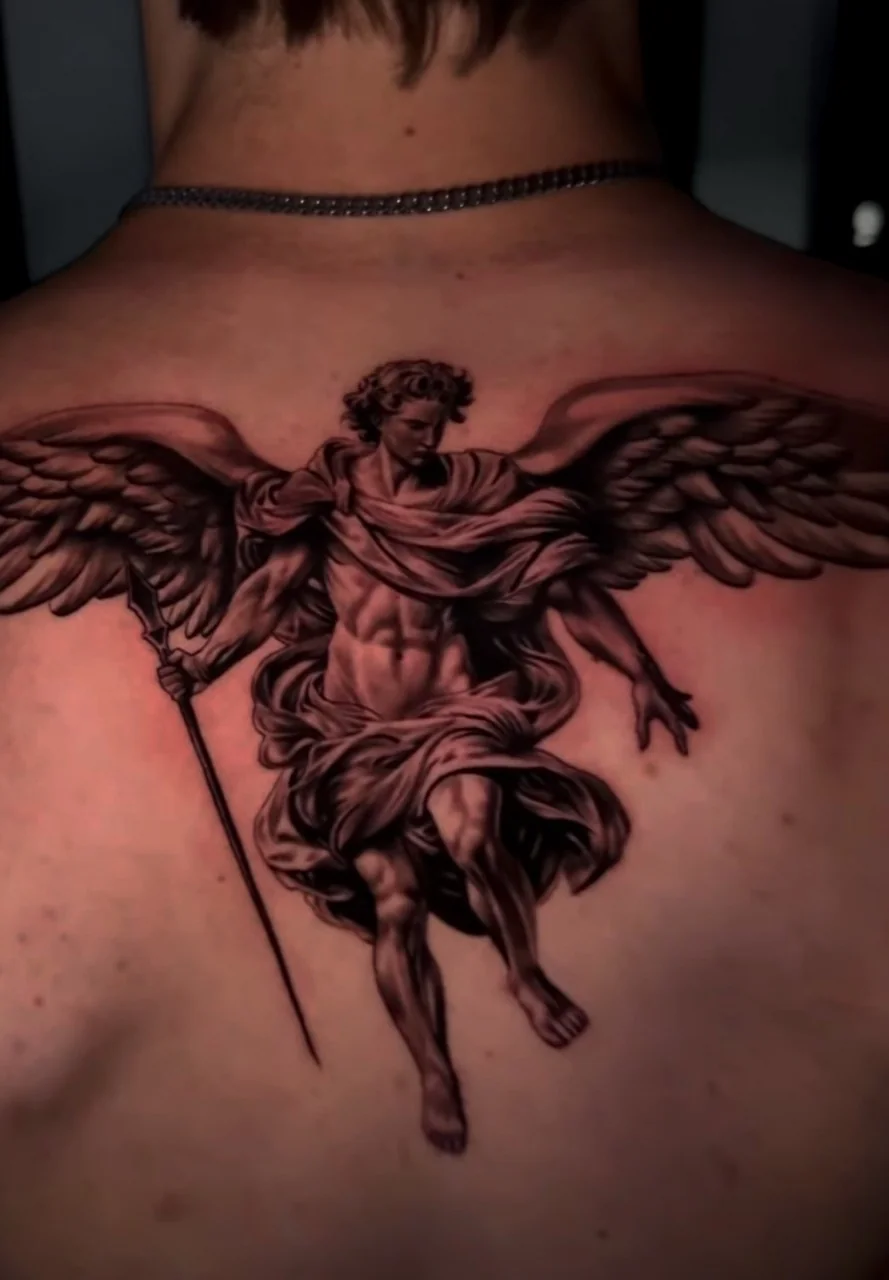
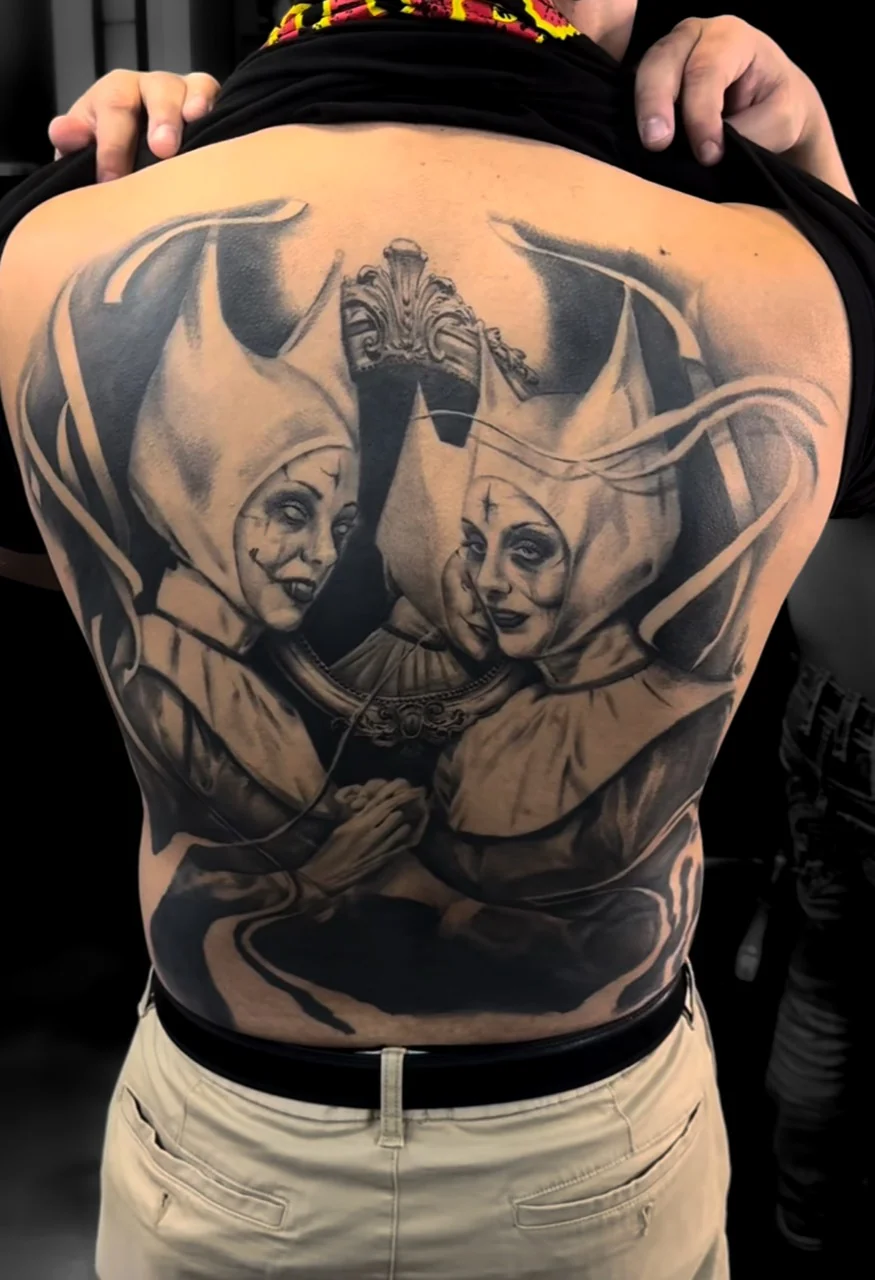
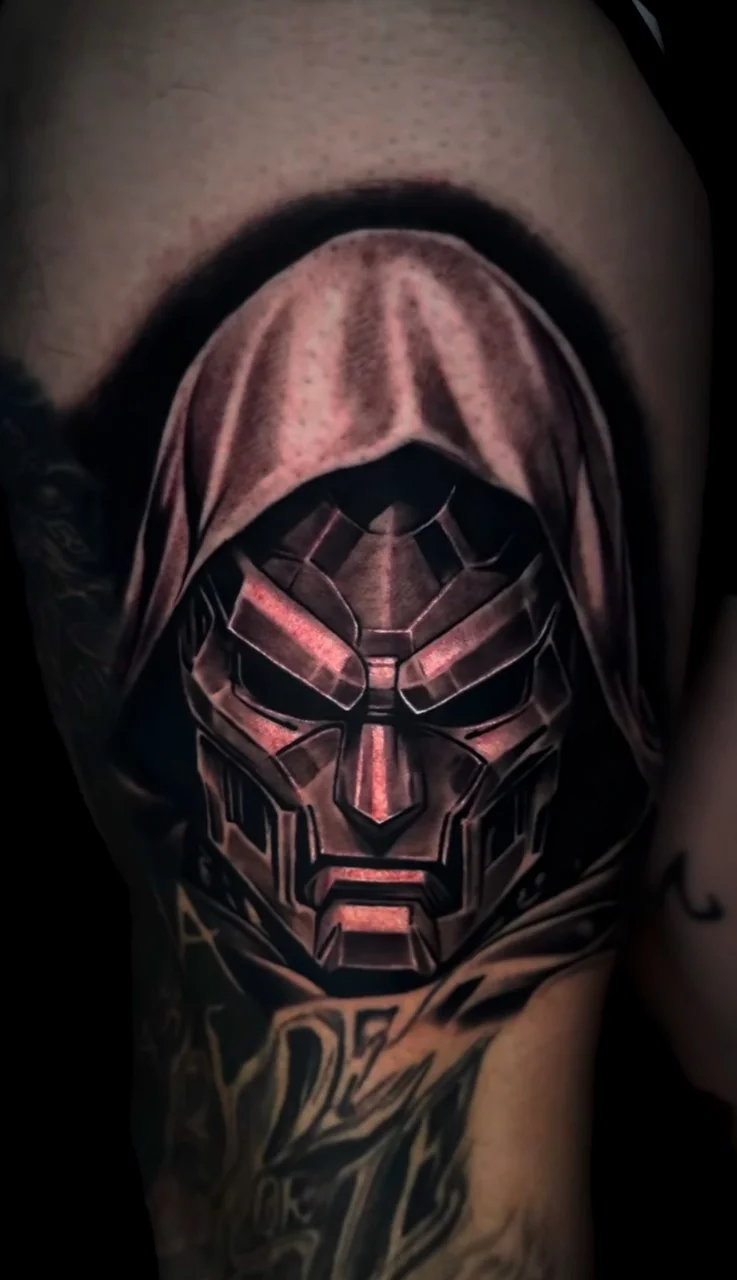
COMPARE REAL VISUAL DIRECTIONS
Use portfolio work to compare boldness, spacing, color and composition. Then, let an artist adapt the direction to your story and shoulder shape.
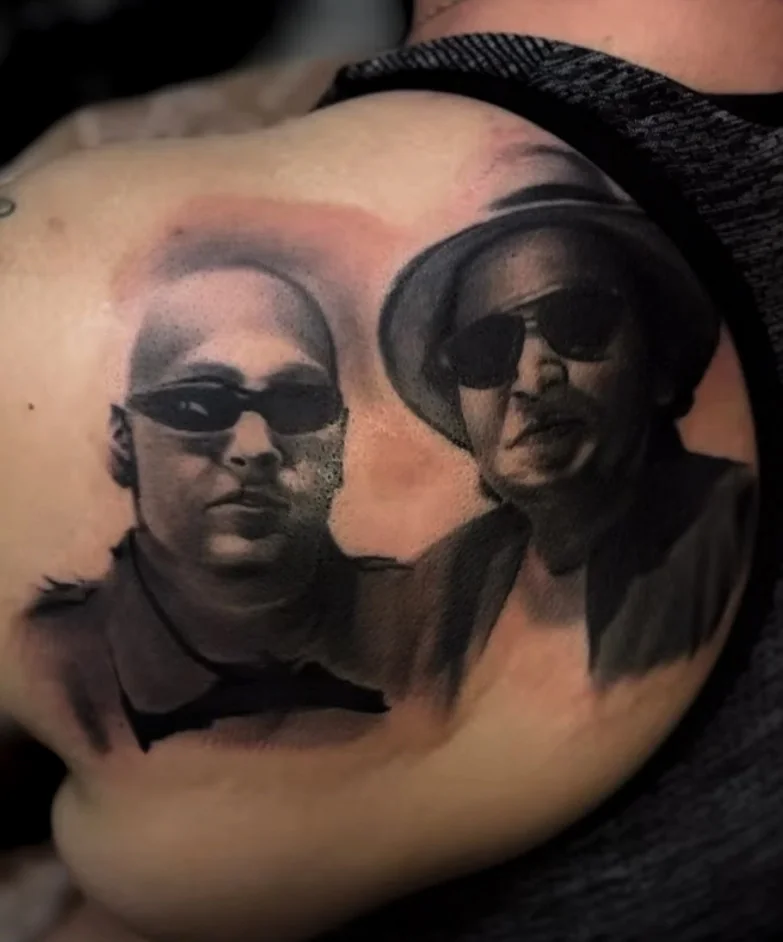
PROTECT THE FRESH TATTOO
Follow the artist's instructions for the bandage, washing and recommended products. Because bandage systems differ, use the timing provided for your specific tattoo.
Next, choose loose, clean clothing that does not repeatedly scrape the shoulder. Also, plan your sleeping position so the fresh area is not pressed against bedding when avoidable.
Meanwhile, avoid soaking, picking and unnecessary sun exposure. Be careful with backpack straps, tight uniforms, gym equipment and other surfaces that can rub the placement.
After the tattoo settles, continue practical skin care and sun protection. Review the complete FIRME COPIAS Tattoo Aftercare Guide and contact the shop with care questions. If the area is not healing, develops a rash or you have a fever, contact a healthcare professional and notify the shop. See the FDA tattoo safety guidance.
FOUR SAN ANTONIO TATTOO SHOPS
Start with the FIRME COPIAS location closest to you. Artist schedules and specialties vary, so the team can help match your shoulder project with the right portfolio and availability.
1132 Rayburn Drive
San Antonio, TX 78221
1806 SW Loop 410
San Antonio, TX 78227
10520 Culebra Road, Suite 4
San Antonio, TX 78251
1802 N Loop 1604 E, Suite 103
San Antonio, TX 78232
All four FIRME COPIAS locations are open daily from 9:00 AM until 2:00 AM.
AVOID COMMON PLANNING ERRORS
To avoid these mistakes, explain the complete plan before the session. Then, compare the artist's relevant work and listen to recommendations about size, flow and surface.
In addition, approve the final details and stencil while standing naturally. A careful review takes minutes and protects a permanent decision.
If this is your first tattoo, bring your questions to the consultation. For a realistic quote, use the San Antonio Tattoo Cost Guide.
STRAIGHT ANSWERS BEFORE YOU BOOK
Yes. The shoulder offers useful space, works with many tattoo styles and can usually be covered by a shirt. However, comfort and visibility still depend on the exact surface and design size.
The shoulder cap creates a rounded side focal point and connects well into a sleeve. Meanwhile, the shoulder blade offers a broader surface for portraits, florals and wider compositions. The design shape should guide the choice.
The main viewing angle and subject determine the direction. Faces and animals often look outward or toward the front, while symmetrical designs may center over the cap. Always approve orientation on your body.
Yes. Tell the artist about sleeve plans before placing the first stencil. Strategic borders, spacing and movement can create better options for connecting the shoulder into later upper-arm and forearm work.
The best size keeps every important line, letter and value change readable across the curve. Detailed portraits and scenes require more room than simple symbols, so test the design on your shoulder.
Cost depends on size, detail, style, color, artist and expected session time. Therefore, provide the exact shoulder surface, approximate dimensions and reference images for a useful quote.
A small simple design may take one short appointment, while detailed, connected or color work may require a longer visit or several sessions. The artist can estimate timing after reviewing the final plan.
Pain varies by person and exact location. Many clients find the outer shoulder manageable, while areas near the collarbone or shoulder blade may feel sharper. Also, longer sessions can become more intense.
Simple shoulder tattoos may work as walk-ins when the right artist and enough time are available. However, portraits, large custom pieces and designs crossing the chest, back or arm benefit from an appointment.
Compare portfolios for the style, subject, scale and curved-body compositions closest to your idea. Then, share references and expansion plans so FIRME COPIAS can help match the project with the right artist.
BUILD THE RIGHT PLAN BEFORE THE STENCIL
Bring your subject, style references, preferred shoulder surface and approximate size. Then, FIRME COPIAS can help you choose the right placement, artist and San Antonio location for the work.